In this article we walk through the steps of setting up the VNC viewer. This guide is for specifically setting up VNC Viewer on Kyocera Multifunction models (##02/##52) and higher. Learn why you should use the VNC viewer on your MFP Copier.
1. Type your machine’s IP address into the URL bar of a web-browser #
(If you do not know your machine’s IP address, see our guide here: How to find your IP address)

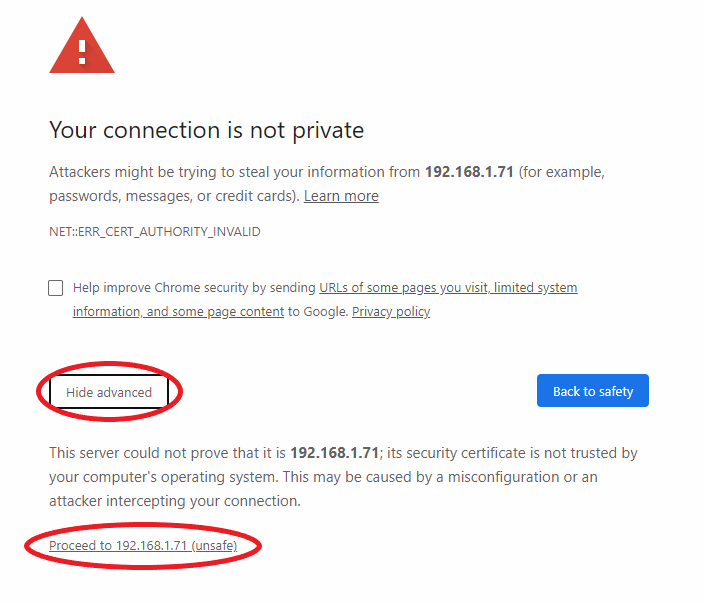
2. You will receive a certificate error. Press ‘Show Advanced’ and then ‘*Proceed to *Your IP address*’ #
(This example is from Google Chrome. If using another web browser, your certificate error will look slightly different. Just make sure to proceed to the site.)
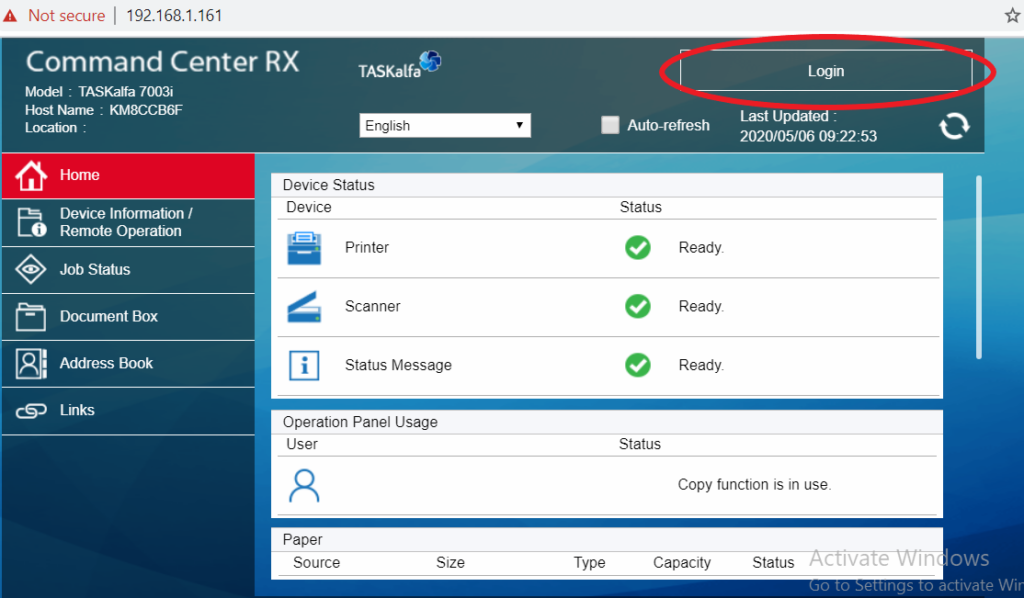
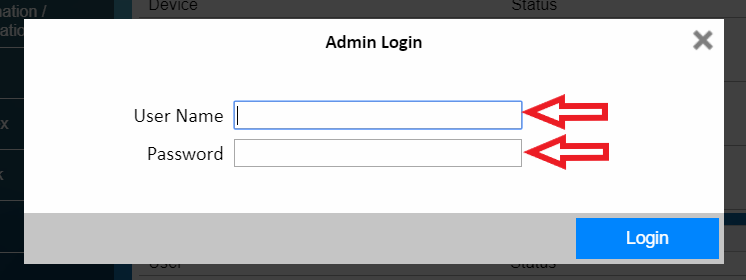
3. Login with your credentials #
(The picture below is just an example. For administrator credentials, please reach out to your IT administrator or your Kyocera Service Provider)
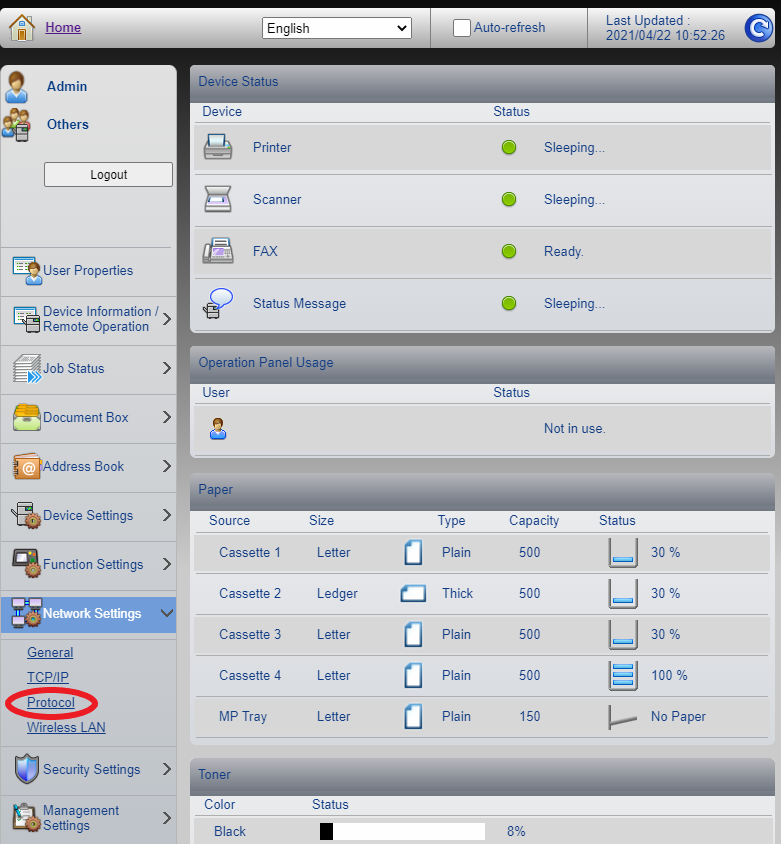
4. Highlight ‘Network Settings’ and click ‘Protocol’ #
5. Scroll down until ‘VNC (RFB):’. Turn this on, scroll down, and press ‘Submit’ #
(Make sure that the port number is ‘9062’. Remember what your port number is for later when you install and run the VNC Viewer on your computer.)

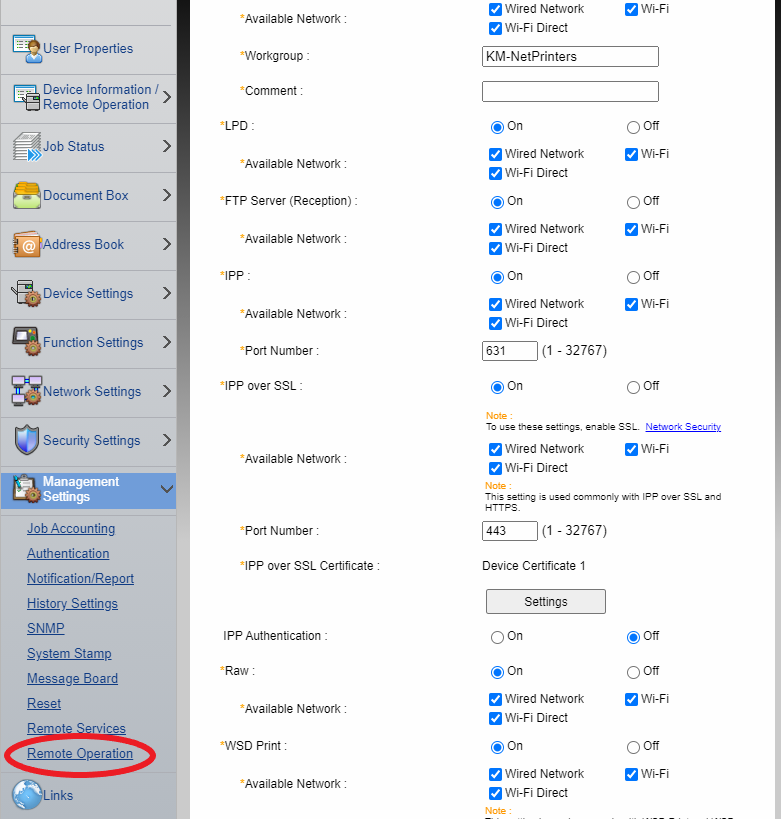
6. Highlight ‘Management Settings’ and click ‘Remote Operation’ #
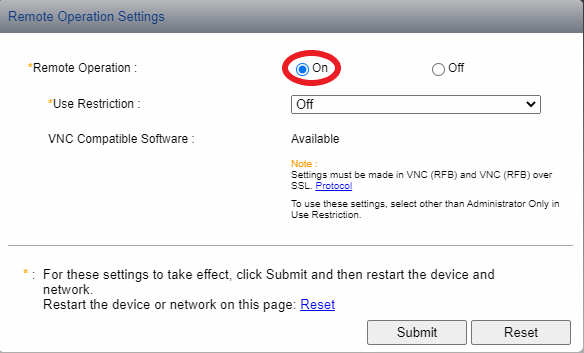
7. Turn Remote Operation ‘On’ then press ‘Submit’ #
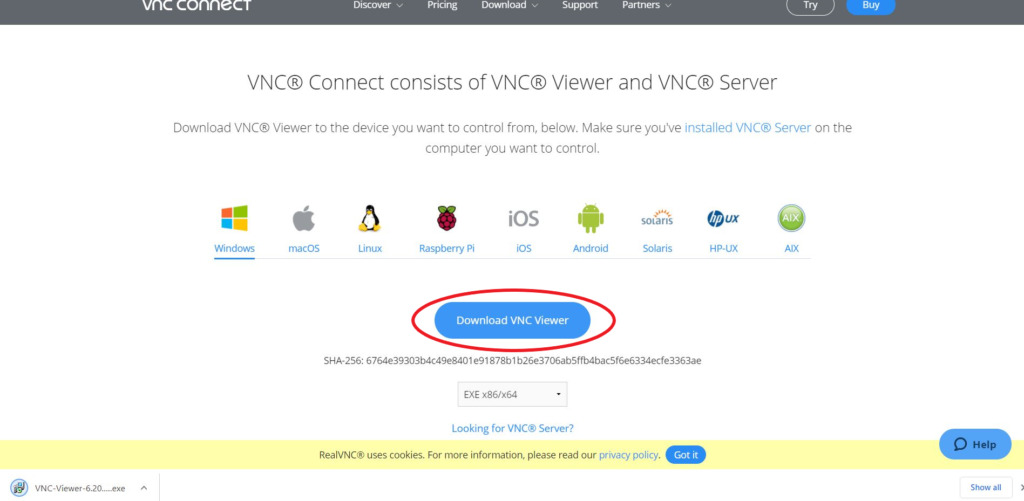
8. Download the ‘VNC Viewer’ application. #
(This can be downloaded at https://www.realvnc.com/en/connect/download/viewer/)
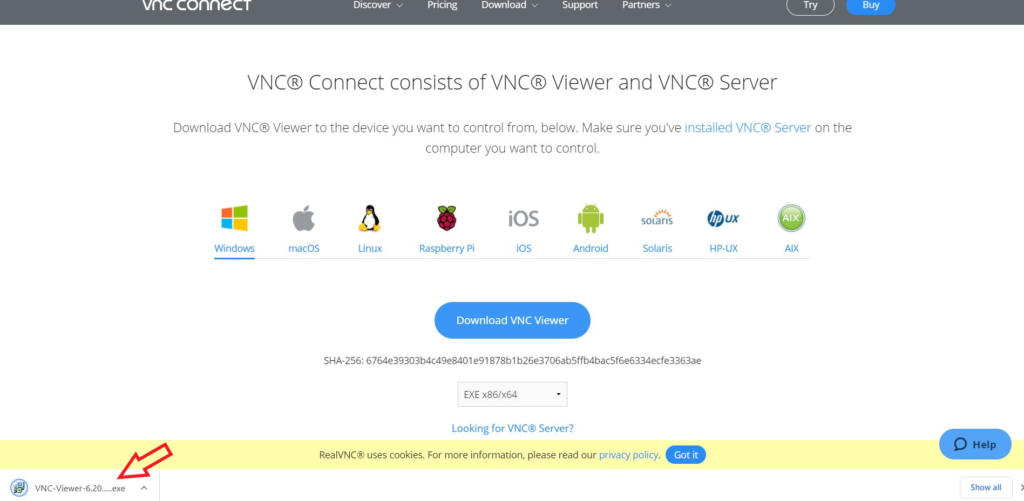
9. Click the download to run the VNC Viewer Application and begin installing it #
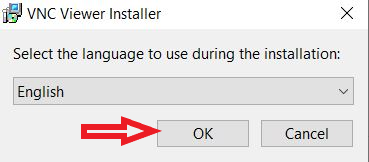
10. Select language and press ‘OK’ #
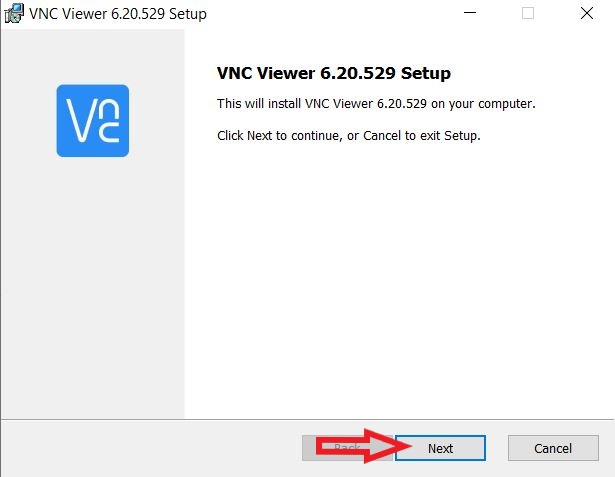
11. Press ‘Next’ #
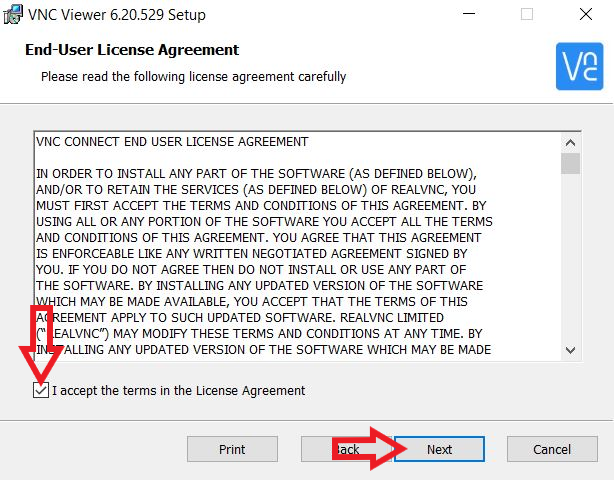
12. Check the box accepting the EULA and press ‘Next’ #
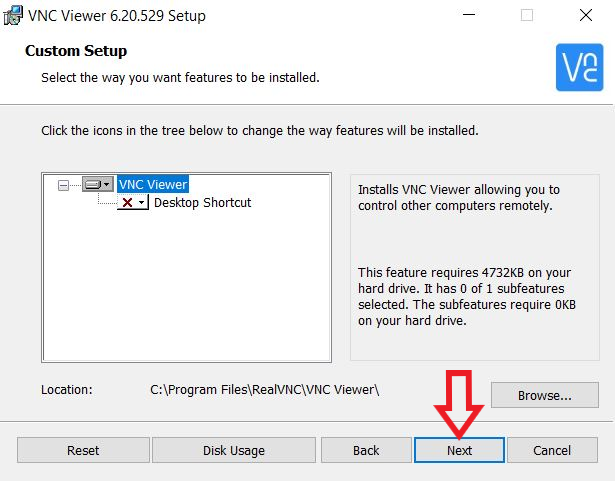
13. Press ‘Next’ #
(If you would like to change the path of the installation, you can do this by pressing ‘Browse’ and choosing a a custom path.)
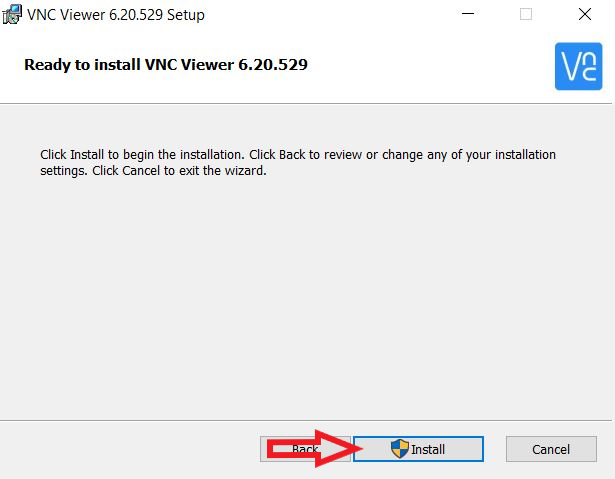
14. Press ‘Install’ #
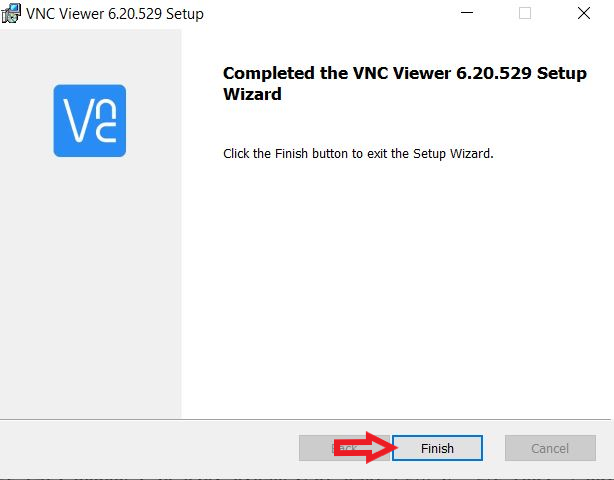
15. Press ‘Finish’ #
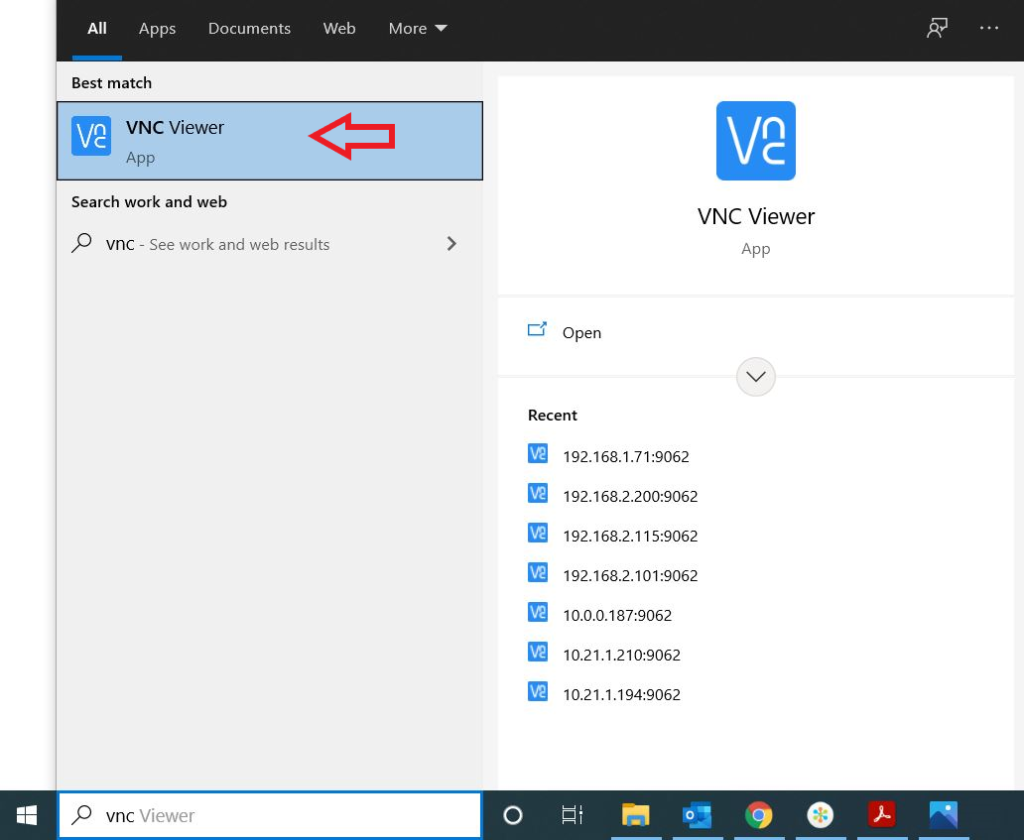
16. Run VNC Viewer #
(You can search for and find the application by pressing the windows button and typing ‘VNC’. Click the ‘VNC Viewer’ application to run it.)
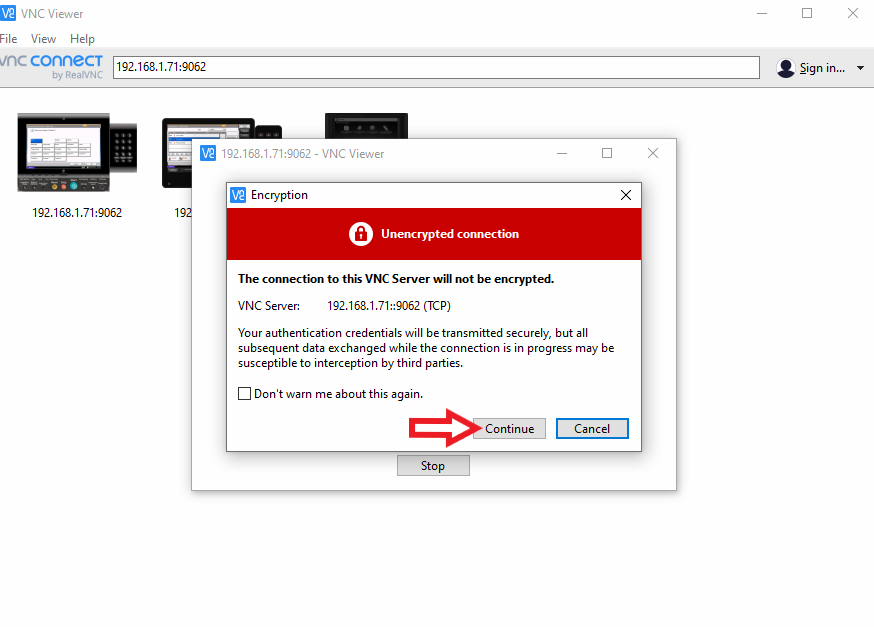
17. Enter the IP Address of the Machine Followed by :9062 then Press Enter #

18. Press ‘Continue’ #
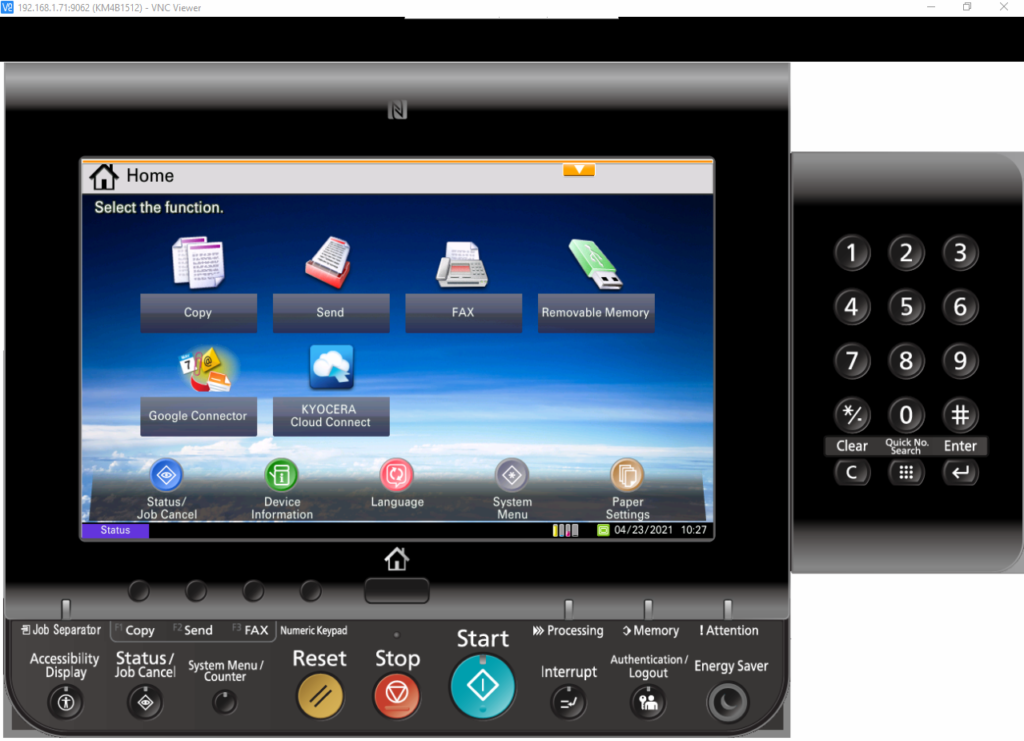
You’re done!


