On Kyocera, HyPAS enabled MFP’s, if you need to reconfigure the PaperCut Imbedded Application due to network changes such as Migrating PaperCut to a new server, you can make changes to the PaperCut Imbedded application through the MFP’s built in Web UI Portal.
Open a web browser on a computer or mobile device #
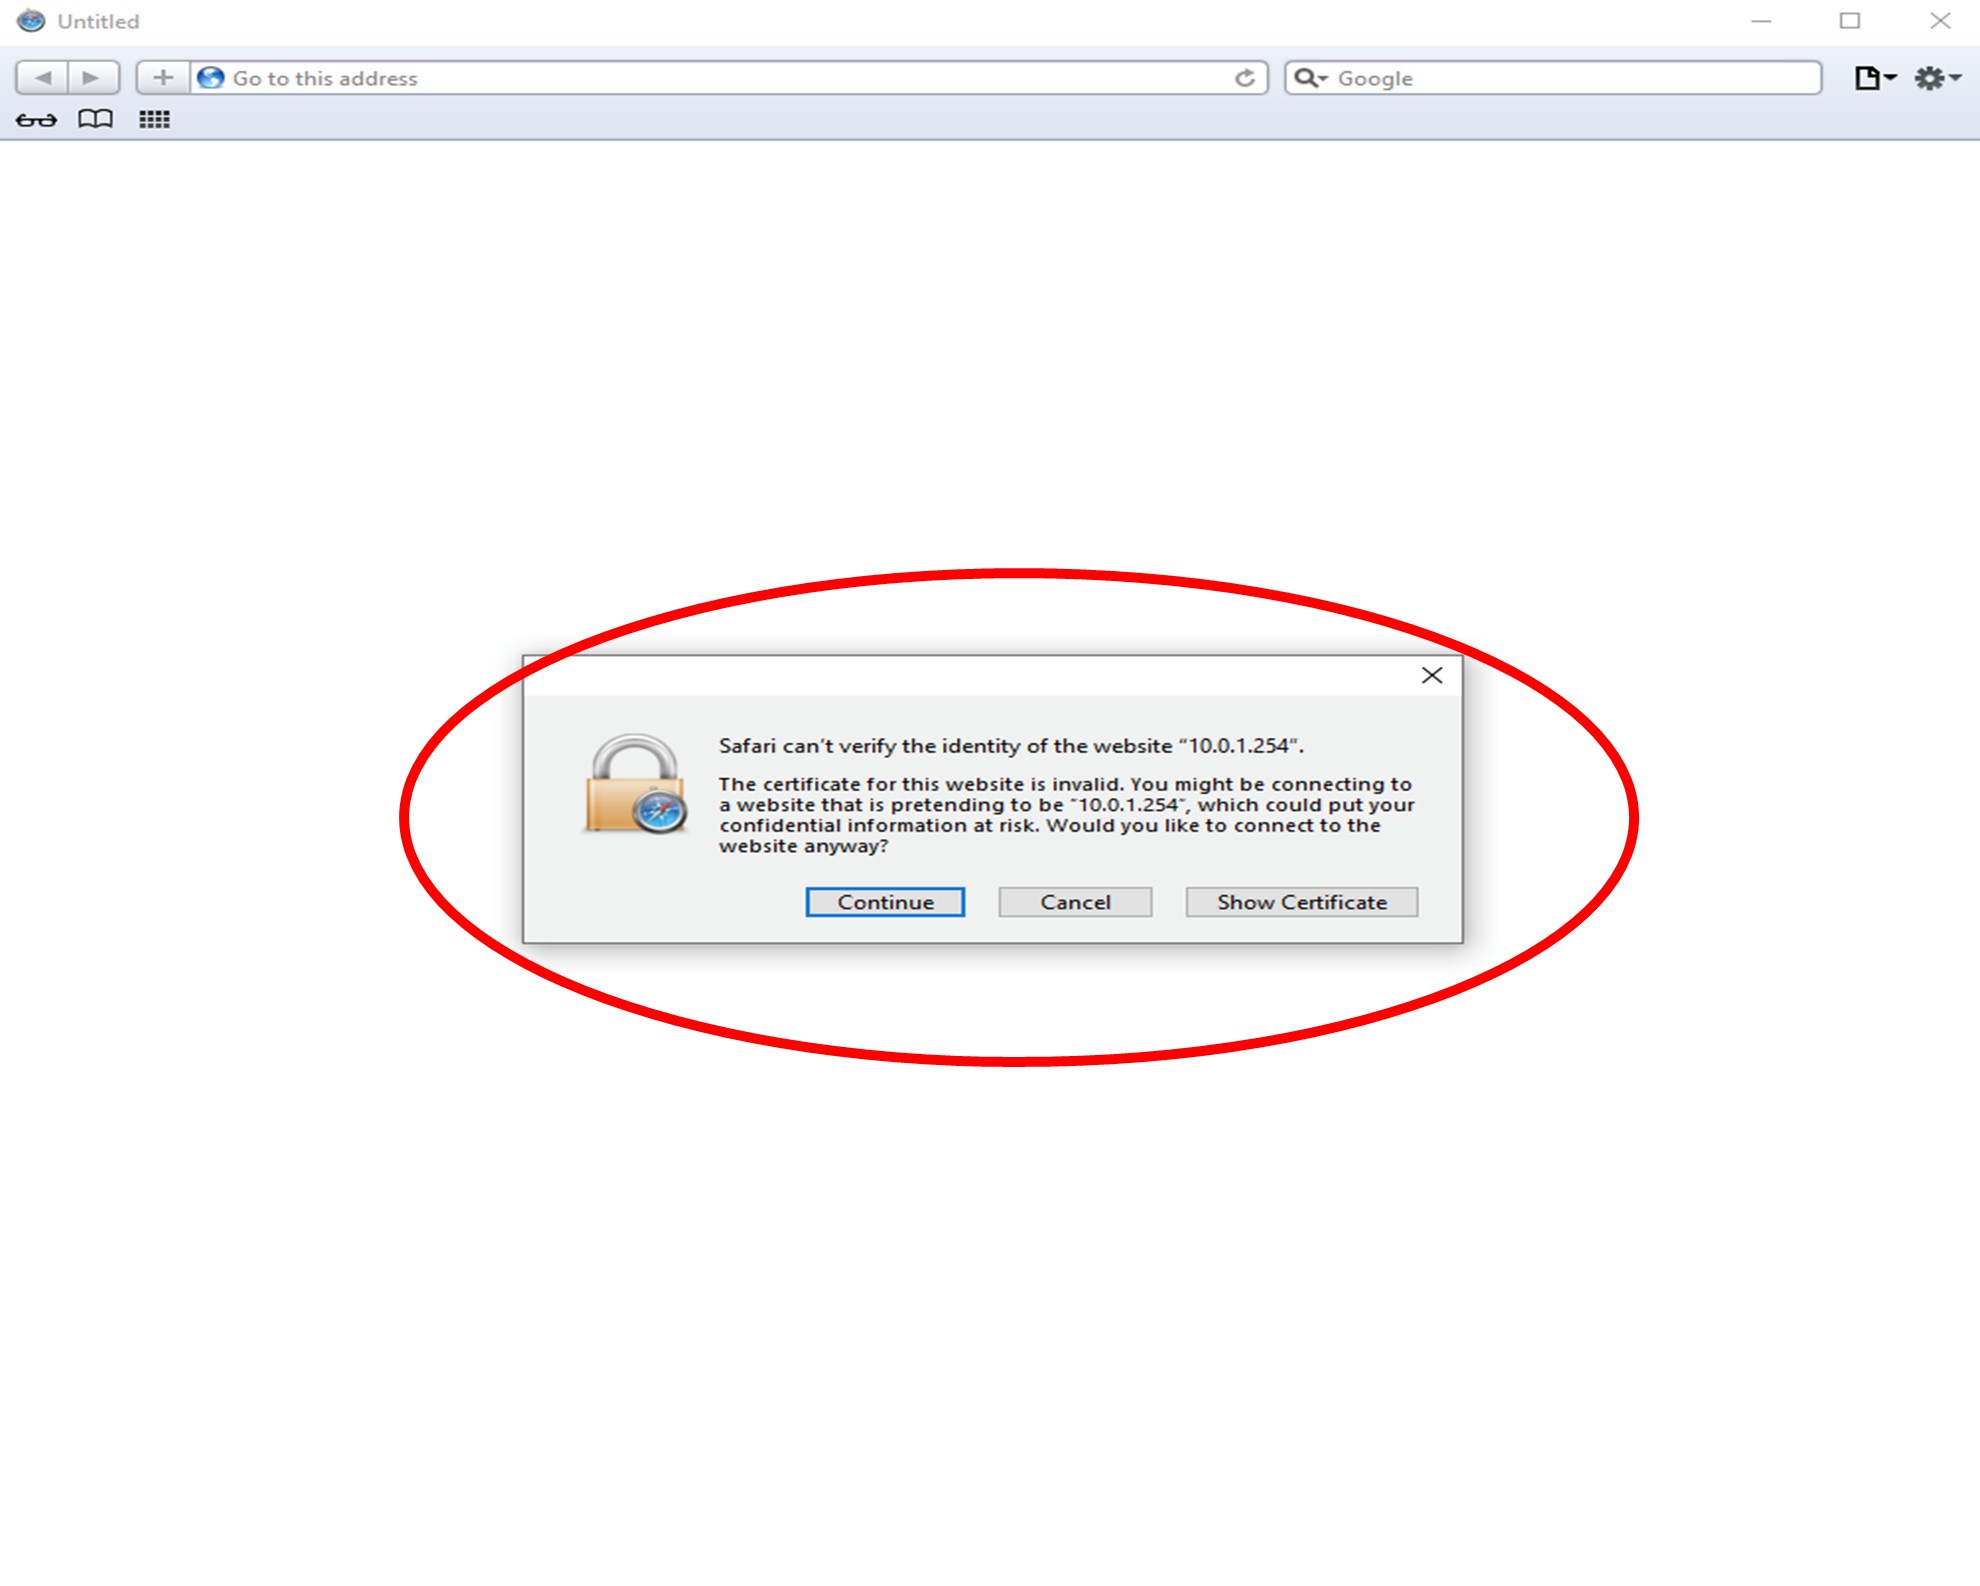
either Mac, Windows or Chromebook, it doesn’t matter, and in the web URL address field enter the IP Address of the MFP in question (https://xxx.xxx.xxx.xxx) and hit enter. NOTE: If you get an SSL error, just click on the Advanced button or whatever Advanced feature set your Web Browser prompts you with on the screen and then click on Proceed to site (Unsafe). You are seeing this message due to the SSL certificate not being signed by what is called a Certificate Authority. This is not a security issue as it is within your own network.
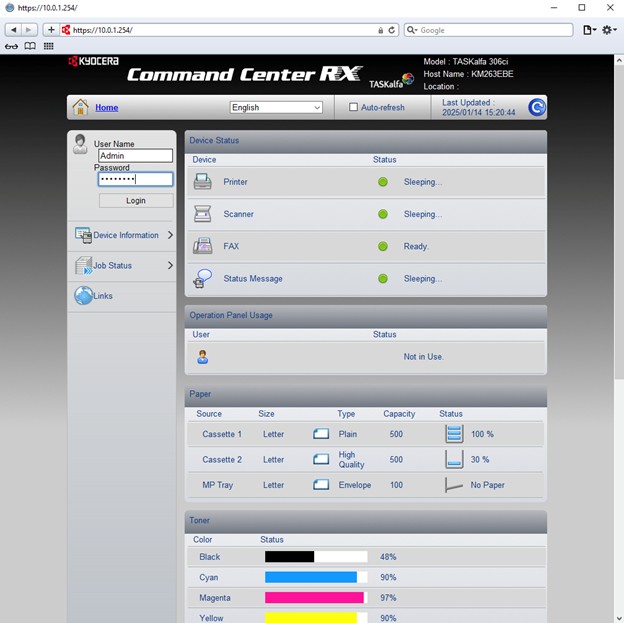
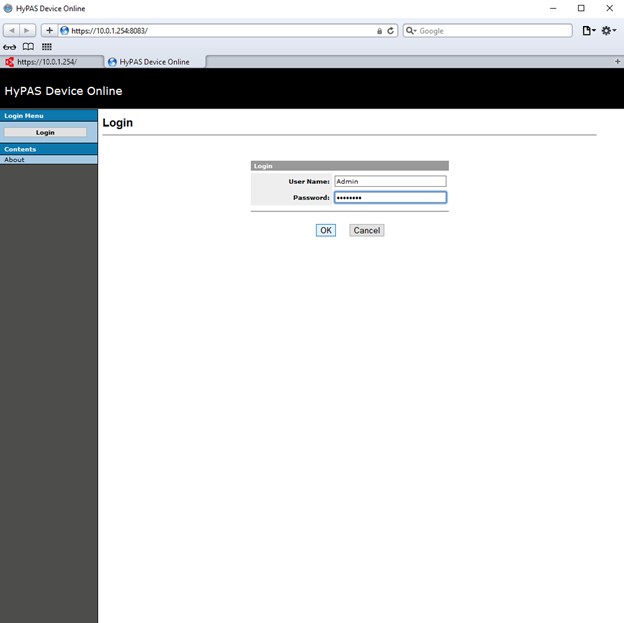
Login on the Web UI as Admin #
The credentials for this should be Admin with a capital A
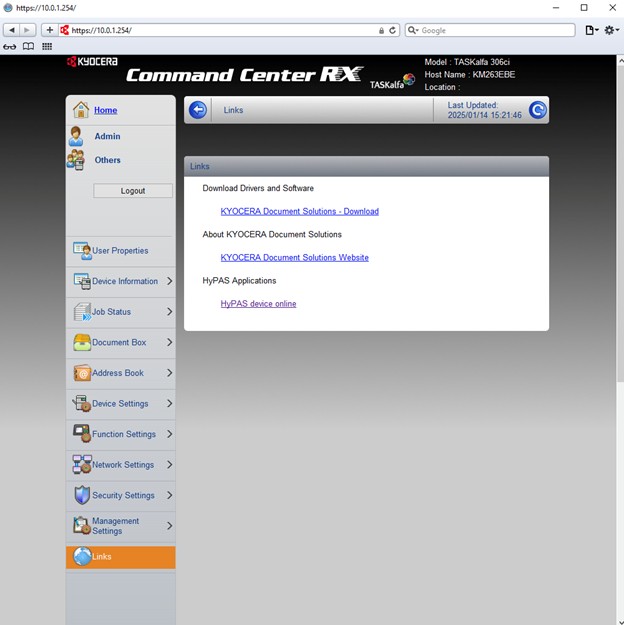
Click on Links #
On the left side click on Links, then click on HyPAS Device Online on the right.
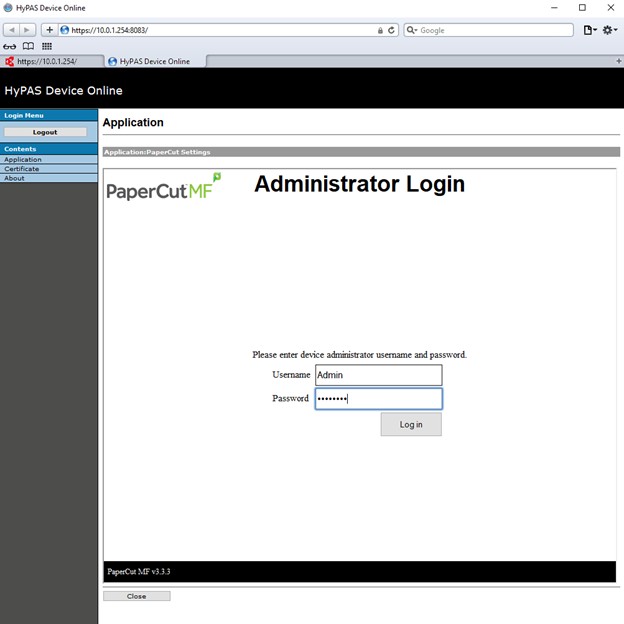
Login into HyPAS Device Online #
Login in with the same credentials used in step two.
Click on the Settings Button to the right of PaperCut. #

Once again you will login using the same credentials from step two.
Change the Device Name and the Server Ip/Host information #
Now that you are logged in, you can now change the Device Name and the Server Ip/Host information. There is no need to change the Server Ports information unless there was a requirement to change the ports during the Server-Side installation.
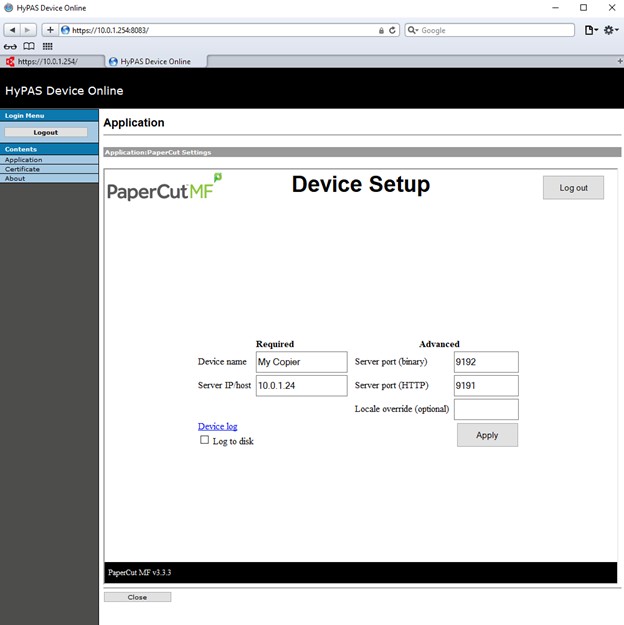
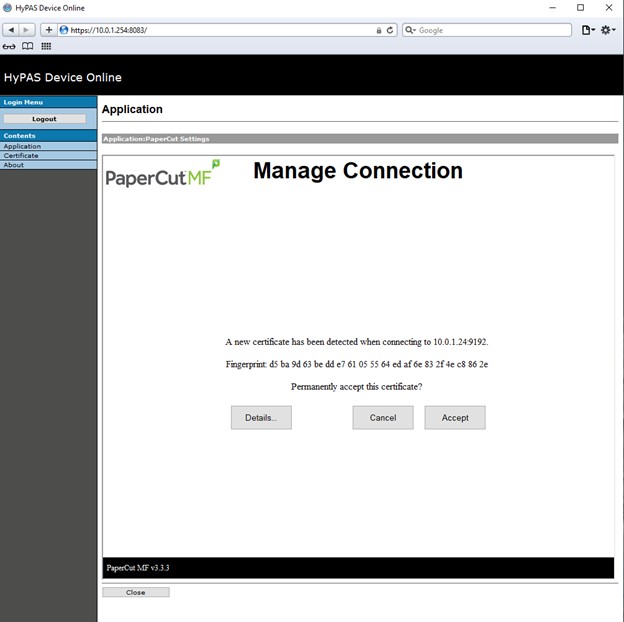
Once the required information is entered, click Apply, and accept the certificate if displayed.
Logout of the Web UI of PaperCut on the MFP, then logout of HyPAS Device Online.

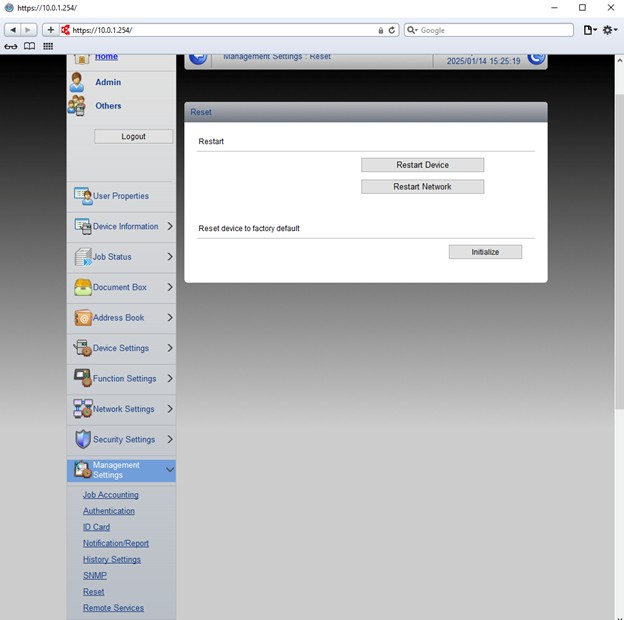
Restart/Reset #
On the left side click on Management Settings and then Reset or Restart/Reset depending on the model of Kyocera MFP and click on Restart Device.