1. Open the Control Panel #
(You can do this by typing ‘Control Panel’ in the search bar and clicking on it.)

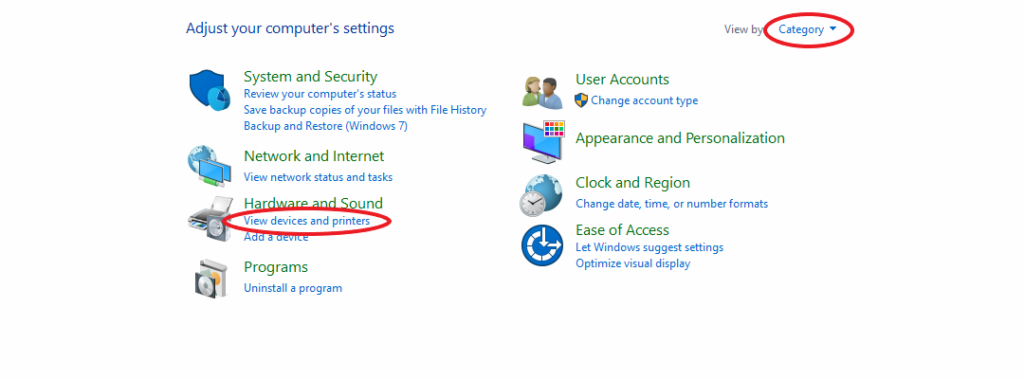
2. Press on ‘Devices and Printers’ #
(If you can’t find it sort by category and your screen will look identical to this example)
3. Right-click on the printer, and select ‘Printer Properties’ #

4. Press on the ‘Device Settings’ tab #

5. Click on the ‘Administrator’ button #

6. Click on the ‘Job Accounting’ tab #

7. Click on the ‘Job Accounting’ check box #

8. Choose either ‘Use specific account ID’ or ‘Prompt for account ID’ #
Press ‘OK’ on the remaining windows to close them


