Here is a brief video from Sam where he discusses the basics of How to Perform a Full Color Calibration performed, what they can fix, and how to perform them.
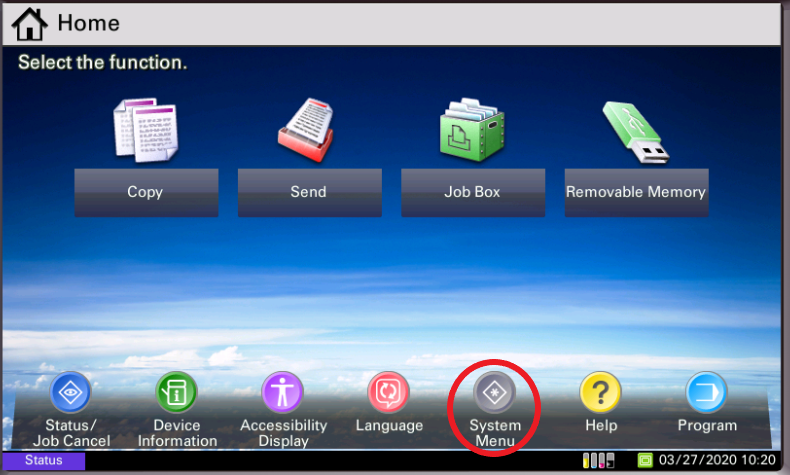
1. Press the ‘System Menu’ button #

2. Press the ‘Down’ arrow to go to page 2 #

3. Press the ‘Adjustment/Maintenance’ button #

4. Press ‘Drum Refresh’. Press ‘Start’ #
(Wait for this to complete before moving onto the next step)


5. Press the ‘Down’ arrow to go to page 2 #

6. Press ‘Developer Refresh’. Press ‘Start’ #
(Wait for this to complete before moving onto the next step)


7. Press ‘Calibration’. Press ‘Start’ #
(Wait for this to complete before moving onto the next step)


8. Press ‘Laser Scanner Cleaning’. Press ‘Start’ #
(Wait for this to complete before moving onto the next step)


9. Press ‘Tone Curve Adjustment’. Press ‘Start’ #
(Follow the instructions on the screen to proceed)


10. Press ‘Color Registration’. Press ‘Auto’. Press ‘Start’ #
(Follow the instructions on the screen to proceed)


