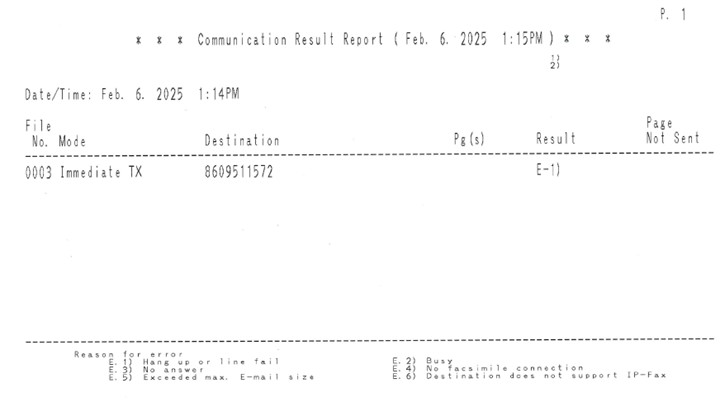
A “Fax Confirmation Page” can be generated and printed every time you send a fax. This page will give you information such as Date & Time sent, Transmission type, total pages in the job, the result of that transmission whether it was successful or not, and how many pages were NOT sent.
Video: How to Print Fax Transmission Report Ricoh
If also enabled, a partial image of the 1st page of the job will be displayed at the bottom of the report. To enable this feature, we will use embedded Web UI of the Ricoh Multifunction Printer.
Open a Web Browser #
Launch a web browser of your choice, such as Microsoft Edge, Google Chrome, or Safari, to begin exploring the internet.
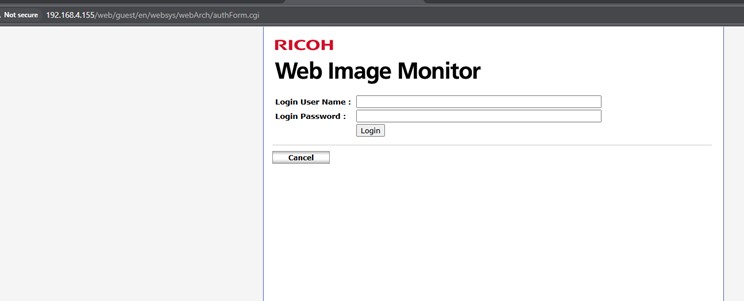
Enter IP Address #
In the address bar, input the IP address of the multifunctional printer (MFP), and then press the ENTER key.
Administrative Username & Password #
If you are unfamiliar with this information, you will need to acquire it from your network administrator.
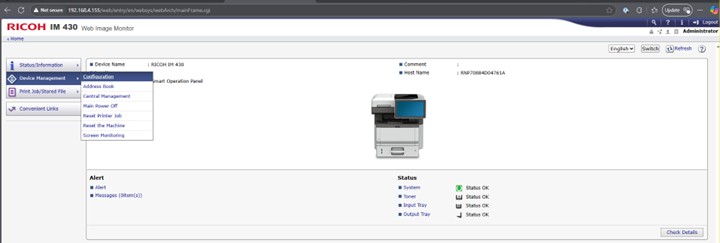
Administrator Credentials #
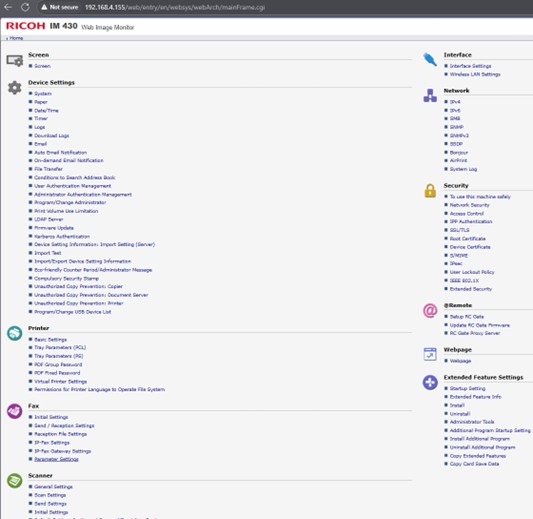
Check that you are logged in as an Administrator at the top right of the page. Navigate to: Device Management > then Configuration
Fax Settings #
Next, we will scroll down to “FAX”, and click on “Parameter Settings”
Immediate Transmission Result Report #
Enable report by turning ON “Immediate Transmission Result Report”
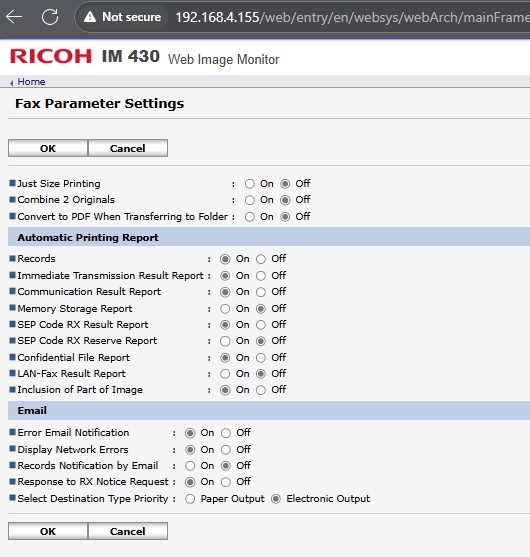
If you want to include a partial image of the first page of the fax job on the report, also turn ON; “Inclusion of Part of Image”
Once all desired settings have been enabled, Click on OK to save.
Click on “Logout” then close your browser window.
That’s it, you are all done. Now a Result Confirmation report will be printed after every Fax Transmission


