Adding finishing options such as stapling, hole punching, duplexing, or booklet creation to your Kyocera print driver ensures you get the most out of your multifunction printer (MFP). If your device has built-in finishing hardware, you’ll need to enable these features in the print driver so they appear when you go to print documents. Follow the steps below to set up finishing options in Windows 11.
Step-by-Step Instructions with Video
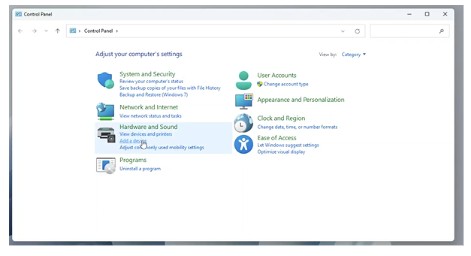
1. Open the Control Panel #
Press Windows + S and type Control Panel, then press Enter.
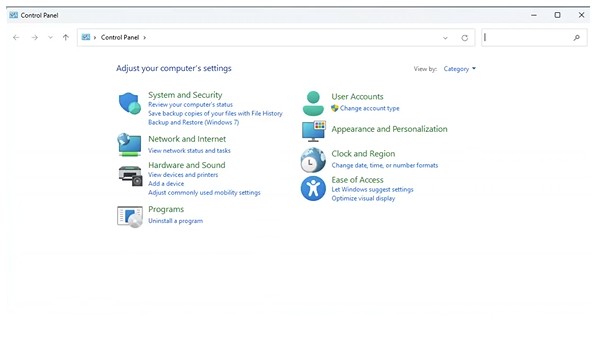
From the menu, select View devices and printers.
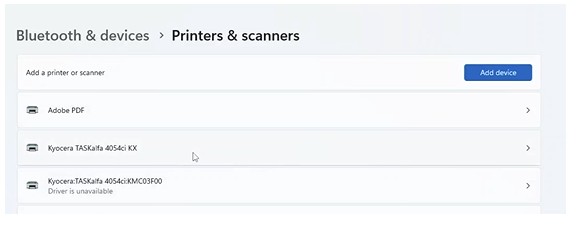
2. Locate Your Printer #
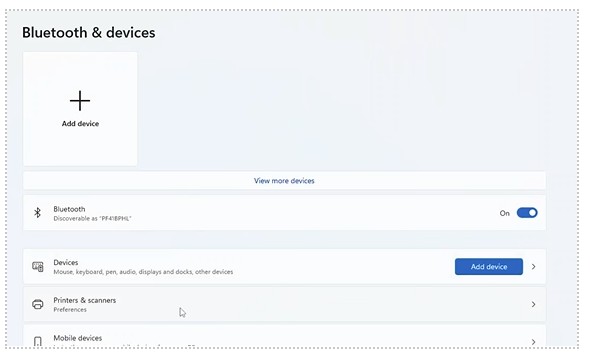
Under Printers, find the Kyocera device you want to configure (Printers & Scanners).
Right-click the printer and choose Printer properties.
3. Access Device Settings #
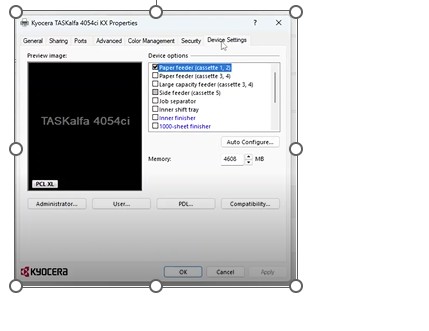
In the properties window, click the Device Settings tab.
Here you’ll see a list of additional hardware options that can be enabled.
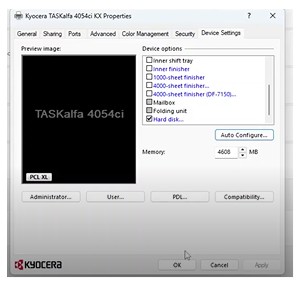
4. Enable Finishing Options #
Select the finishing equipment your Kyocera device supports (e.g., stapler, hole punch unit, or booklet finisher).
Use the dropdown menus or checkboxes to enable the appropriate features.
Click OK to save your changes.
5. Confirm in Print Dialog #
Open any program and select Print.
Choose your Kyocera printer, then open Printer Preferences.
You should now see the finishing options available for use when printing.
Tips & Notes
If you do not see finishing options in the driver, confirm that your Kyocera device actually has the finishing hardware installed.
You may need administrative permissions on your computer to change device settings.
Keeping your Kyocera driver up to date ensures maximum compatibility with Windows 11 features.
Once configured, your finishing options will always be available from the print dialog box, helping you create professional-quality, finished documents directly from your desktop.


