Windows 11 gives users full control over their printing experience by configuring default print preferences at the system level. Setting up printing preferences ensures that every document is printed how you expect, whether you’re handling office reports, marketing materials, or internal drafts. These preferences include paper size, duplex printing, orientation, color options, and finishing features like stapling or hole punching (when supported by your printer).
Taking a few minutes to configure printing preferences helps save time, reduces errors, and ensures professional-quality output across all applications. Below, we’ll walk through how to set up and customize these preferences in Windows 11.
Why Set Printing Preferences?
Before diving into the setup steps, it’s important to understand the benefits of customizing your printing preferences:
- Consistency – Default settings apply across all applications, so you don’t have to adjust them for each print job.
- Efficiency – Save time by avoiding repetitive manual adjustments.
- Cost Savings – Duplex printing reduces paper usage, while monochrome printing can save on toner or ink.
- Professional Results – Ensuring correct paper size, finishing options, and color settings leads to more polished documents.
- Error Prevention – Minimizes wasted paper and toner caused by incorrect settings.
Step-by-Step Instructions to Set Printing Preferences
Open the Control Panel #
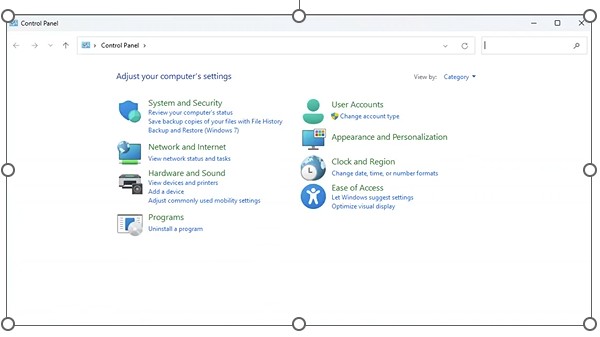
Press Windows + S to open the search bar.
Type Control Panel and hit Enter.
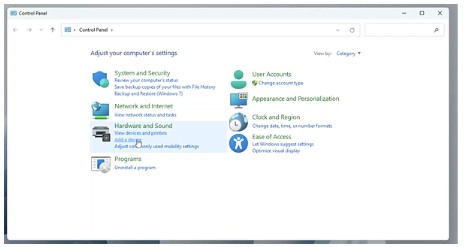
Under Hardware and Sound, click View devices and printers.
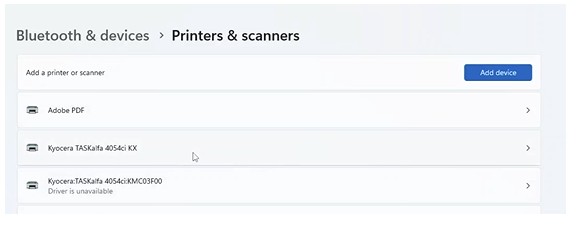
2. Locate Your Printer #
Scroll down to find the printer you want to configure.
Right-click on the printer name and select Printing preferences from the menu.
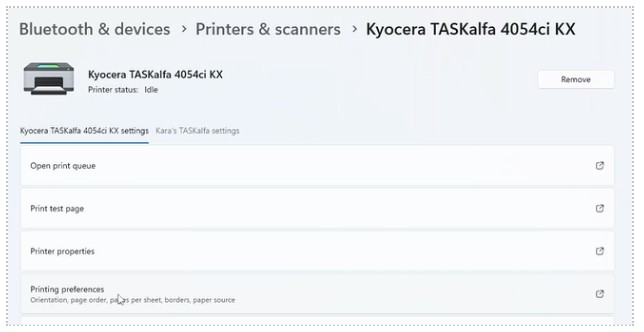
3. Customize Your Printing Preferences #
You’ll find several tabs and options depending on your printer model in the Printing Preferences window. Common settings include:
The global driver that applies changes to every job. Here is where settings such as default media, paper size, duplex and color can be adjusted for every print job. Once the settings are the way you would like them, hit ok and your settings will be saved.
- Paper Size & Media – Select your default paper size (e.g., Letter, Legal, A4) and media type (plain, recycled, glossy, etc.).
- Duplex Printing (Two-Sided): Enable this option to print on both sides of the paper automatically.
- Color vs. Black & White – Choose whether to print in color or grayscale by default.
- Orientation – Set documents to print in portrait or landscape format.
- Print Quality – Adjust resolution settings to balance quality and speed.
- Finishing Options (if supported) – Enable stapling, hole punching, folding, or booklet printing.
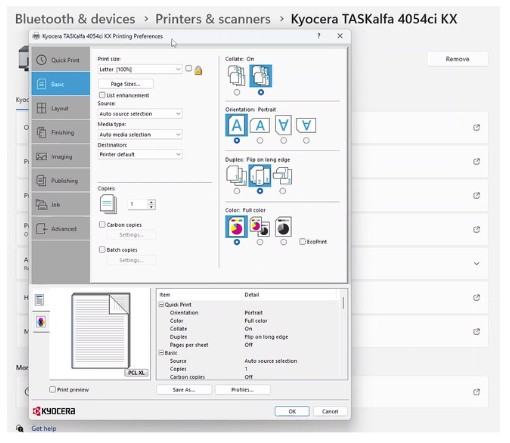
📸 Screenshot: Printing Preferences window
4. Save Your Settings #
After making your changes, click Apply and then OK.
These settings now serve as the global defaults for every print job.
If you need different settings for a one-time print job, you can still adjust them in the print dialog of your application (e.g., Word, Excel, Adobe Acrobat).
Additional Tips
- Driver Updates – Always make sure your printer driver is up to date. Updated drivers ensure full compatibility with Windows 11 and unlock the latest features.
- Device Settings – If you don’t see finishing options like stapling or booklet printing, check the Device Settings tab in the printer properties to ensure the hardware add-ons are enabled.
- User Profiles – Some drivers allow you to create and save preference profiles. For example, you could have one profile for “Draft Printing” (black & white, duplex) and another for “Marketing Materials” (color, single-sided).
- Shared Printers – On a networked or shared printer, your preferences only affect your own computer unless an administrator sets defaults at the server level.
Configuring printing preferences in Windows 11 ensures your printer works the way you need it to every time. From saving costs with duplex printing to ensuring professional-quality output with finishing features, taking the time to adjust these settings is well worth the effort. Once your defaults are set, you’ll enjoy smoother, faster, and more consistent print jobs across all applications.


